 Motherhood & Family
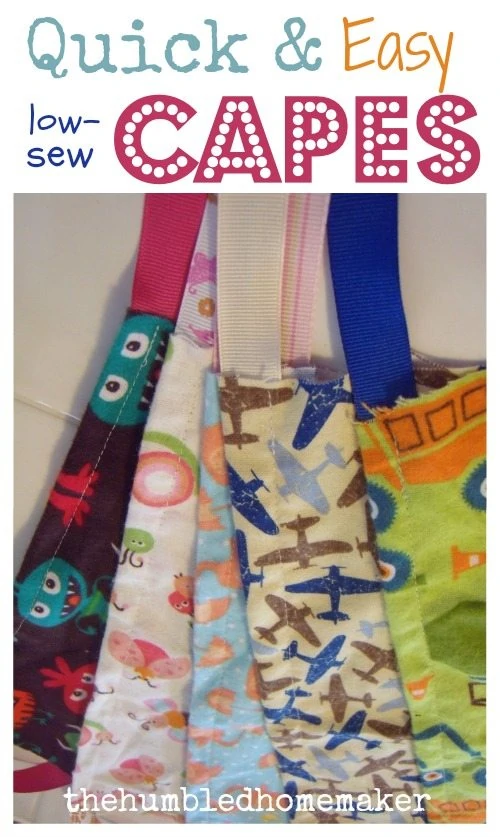
By Sara Shay, Contributing Writer
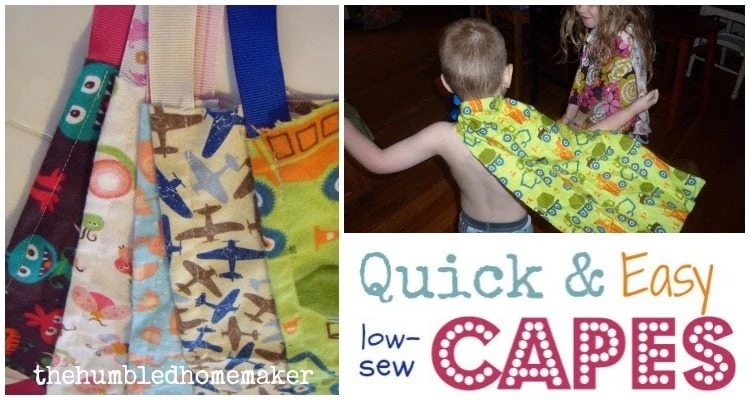
I call these kids’ capes “low-sew” because they are seriously simple, with just ONE seam and you are done! I made about 30 of them the morning of my children’s birthday party a couple years ago. They were our “favors” for a Superhero-themed birthday party. It has been at least two years and my kids are still running around in them!
I love doing super simple birthdays for my kids. Frugal, memorable – ones that are focused on fellowshipping. Our “favors” are usually crafty things done at the birthday party. And of course with some healthy foods!
Tools Needed
- Fabric Scissors
- Sewing Machine
- Iron
- Fabric
- Ribbon
- Thread
- Children (ha)
Pick Your Fabric & Ribbon
Look for something that won’t unravel. I ended up getting the baby blanket flannel; it was on sale and had a tone of fun prints. This would also be a great use for those receiving blankets you aren’t using anymore. You could also use a thin felt and let the kids paint a design on them! This would be a great activity for a birthday party or just a fun playdate.
I used mostly ribbon I already had on hand. In any case look for a hefty one, at least 1/2 inch wide. You can see in the picture up top I found the “ribbed” type the best to stay together. Then just match up coordinating colors! I elected to just use white thread on all of them so I didn’t have to change the bobbin out – of course you can get as complicated as you want.
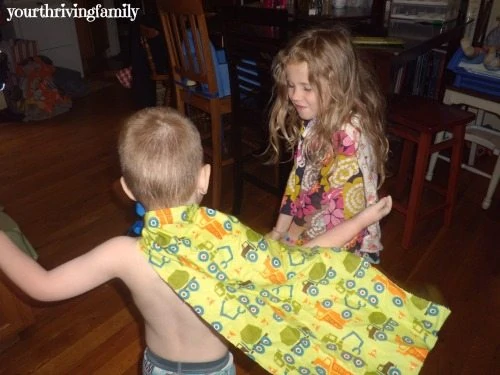
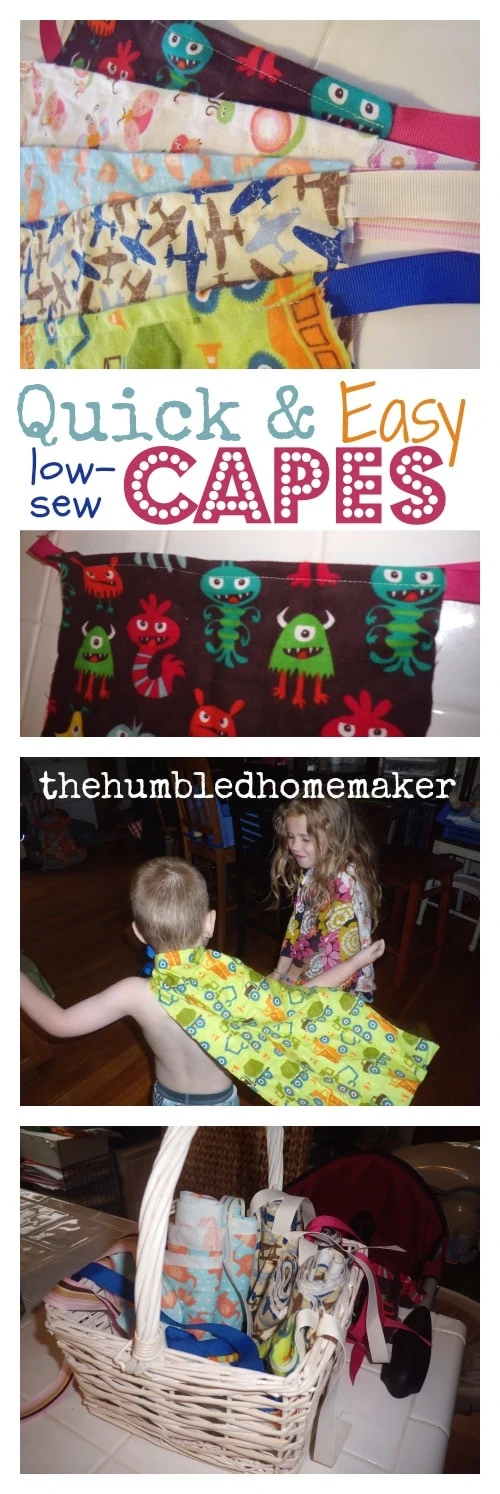
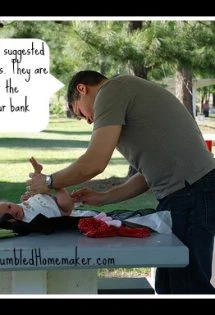
Please excuse my naked boy. If you have a boy, I am sure you understand 😉 And when they are big for their age it is even funnier!
Time to Cut
Decide how big you want the capes. I made mine just the size to cover their backs and a little more. I didn’t measure – honest! I folded the fabric and made a sharp crease and just cut. This made things simple and fast! After those are all cut you need to cut the ribbon.
You will cut on a diagonal to decrease the chances of unraveling. Use the short side of the fabric you cut to determine how long to cut your ribbon. You’ll need an excess on either side of the fabric to be able to tie it. I found 1 to 1 1/2 feet longer than the short side was a good fit. Cut your first one. Then use that same one to measure and cut all the rest.
Now Sew
You can either iron or firmly crease to make a place to sew the ribbon (I do think it is worth the extra effort to get the iron out). Fold the short side of the fabric down so you have about an inch overlap. Then unfold, place your ribbon aligned with the crease and just eye that you have an equal amount of ribbon on either side, then fold the fabric back down.
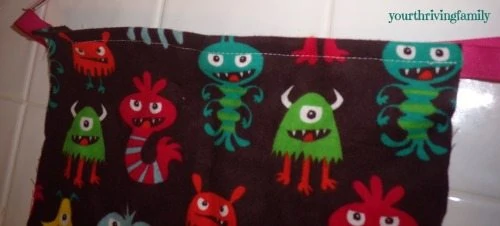
Now you can just sew a straight seam across. Place your needle about half an inch from the end, back stitch near to the edge of the fabric, then go forward to the other end and do another half inch backstitch. DONE!
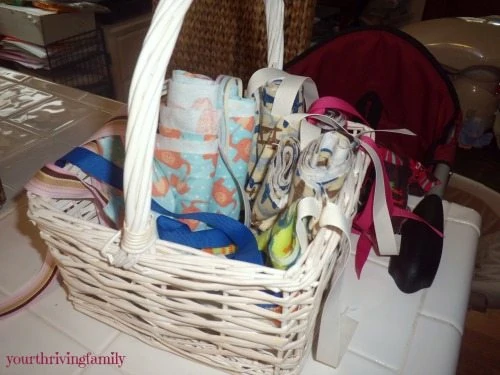
Display
We folded and rolled ours. This was one of the 5-year-old’s jobs (she also helped putting the ribbons in before I sewed). Then we put them in a little basket and our party guests got to choose which one they wanted. These ended up being less than a buck a piece. And that’s a lot better than any party favor I can find at the dollar store!
What is your best fast craft?


Leave a Comment